We try to come up with a central idea for a summer vacation with our kids (which tends to be more like summer camp as we have other kids with us as well). This year, we have decided to go with time travel. This Time Machine project is intended as a glue. Kids will be going through different eras of the history of humankind (and beyond). They will collect “time codes” by solving puzzles and participating in other games. When they punch in the correct time code, the time machine will activate and transfer them to a particular era. The transfer is done via playing a video, which introduces them into that era (e.g., info about customs, arts, typical design, etc.).
Complete sources and schematics are available at GitLab and also GitHub. Build itself is pretty straightforward:
- the main brain is RPi3 running the code linked above. The only hack is to run the wrapper script after boot (I’ve just used
.profileto do so). - ATX power supply is used as it is cheap, readily available and reasonably safe. It is taking advantage of the availability of standby rail to power RPi and normal +5V rail for powering VFD.
- you can use any keyboard available. I’ve just picked AJazz as it has a nice colorful back-light (which is making it more fun for kids to use).
- project is using VFD (vacuum fluorescent display) as I had one laying around and they are just gorgeous.
- some 3D printed components are serving just as props to make the whole assembly look a bit steam-punky. Links to models are provided in the project’s readme file.
- then you need to mount all components into an enclosure. As you can see, I’ve fitted a waterproof box with a bit of plywood to hold all the components.
If I am going to build the next version, I would consider using an old laptop as the complete platform (including display). That will give it a more spy vibe. So kids would find a waterproof case which would be completely self-contained. Maybe for the next year :)
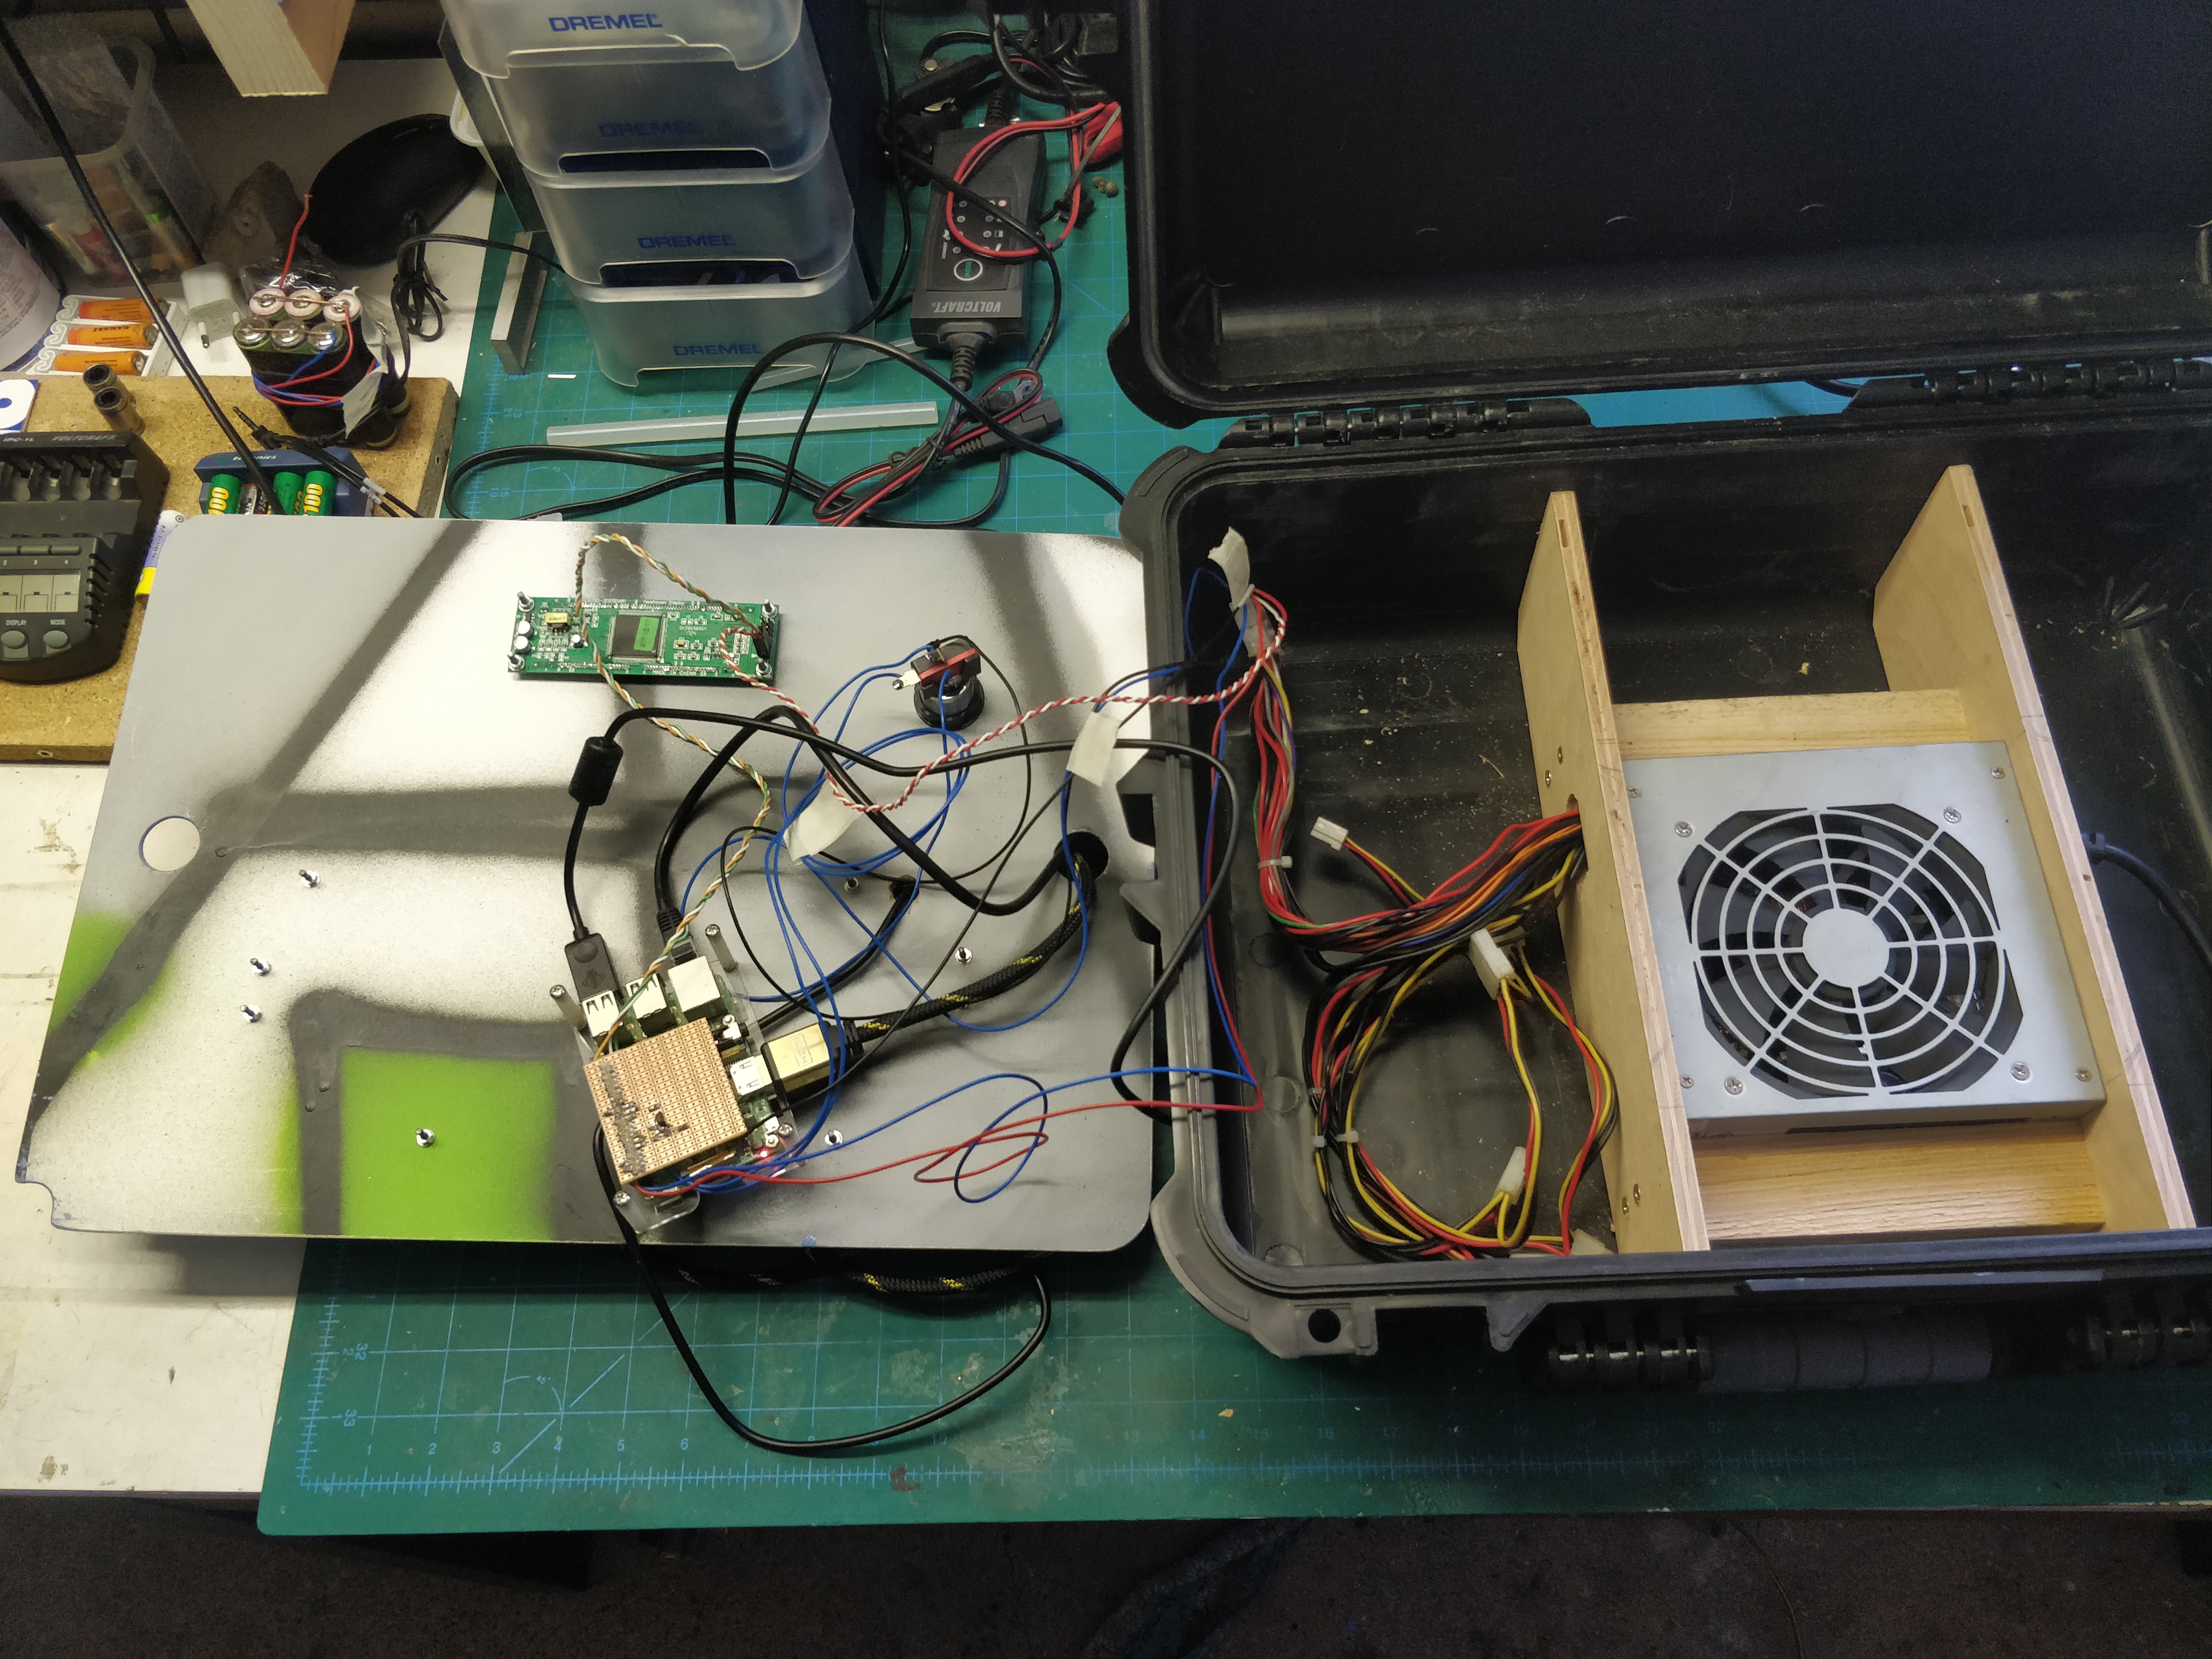
 All internal components
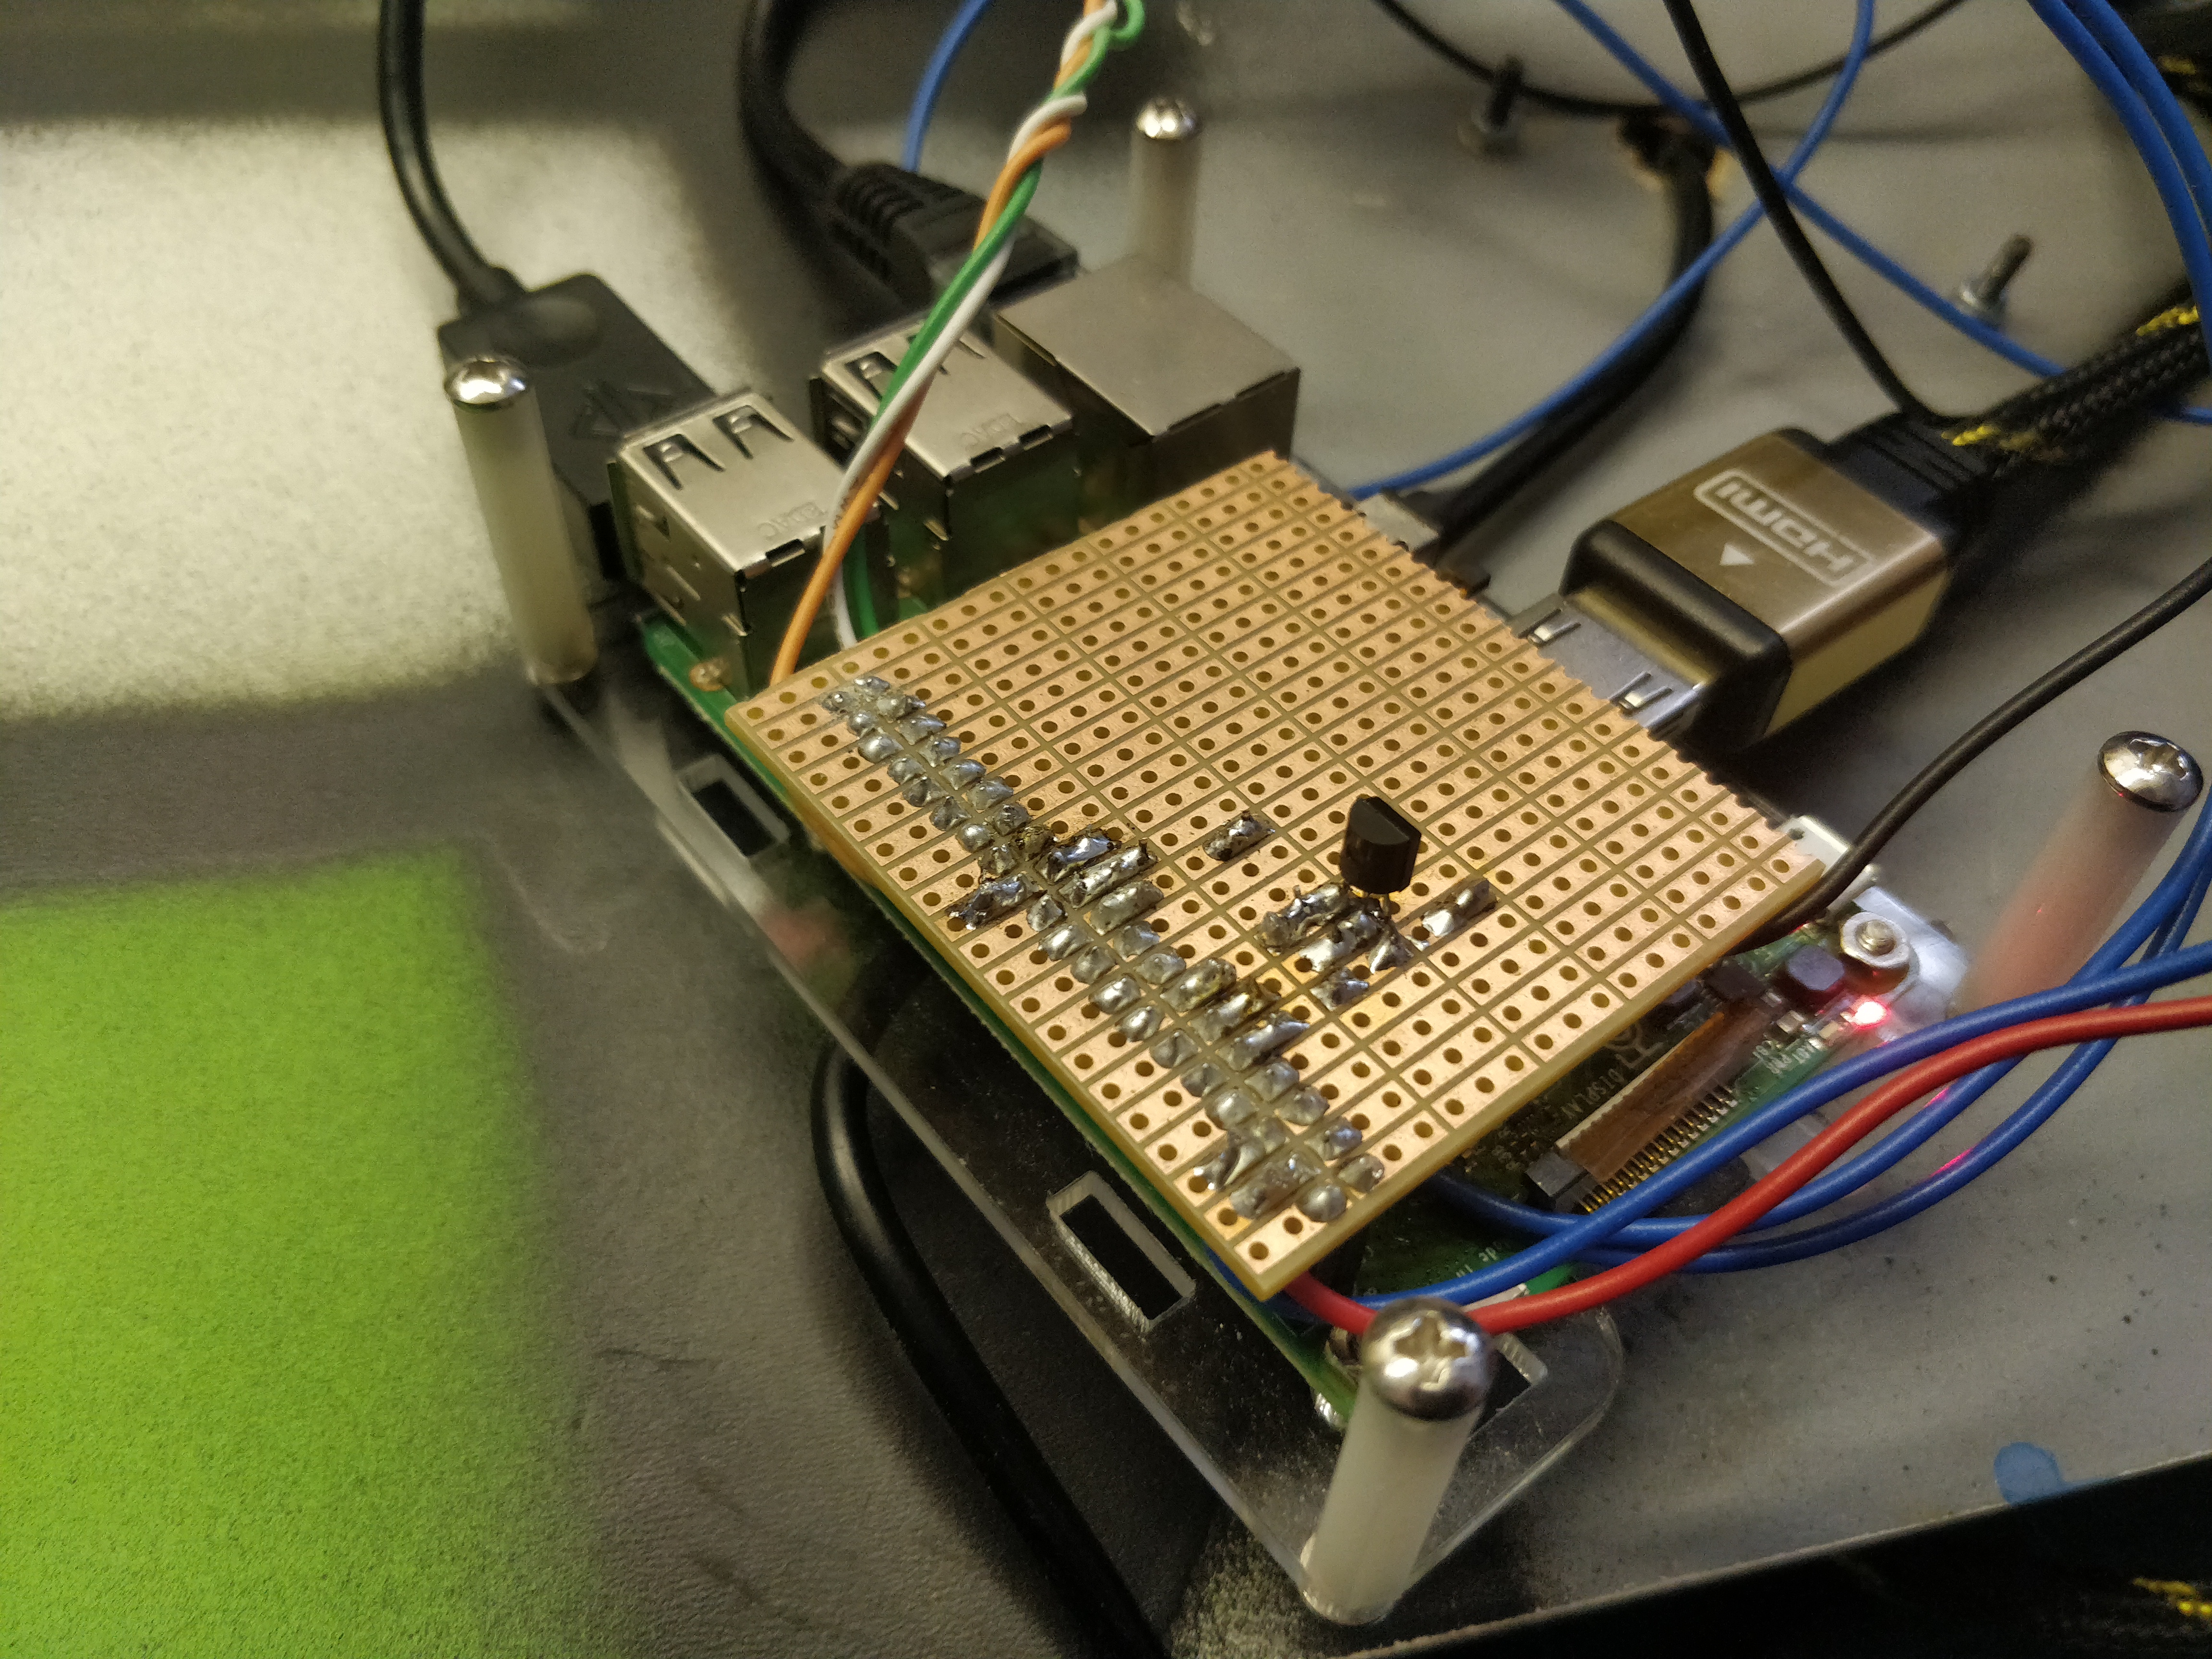
 Universal PCB plugged directly to GPIO header of RPi3
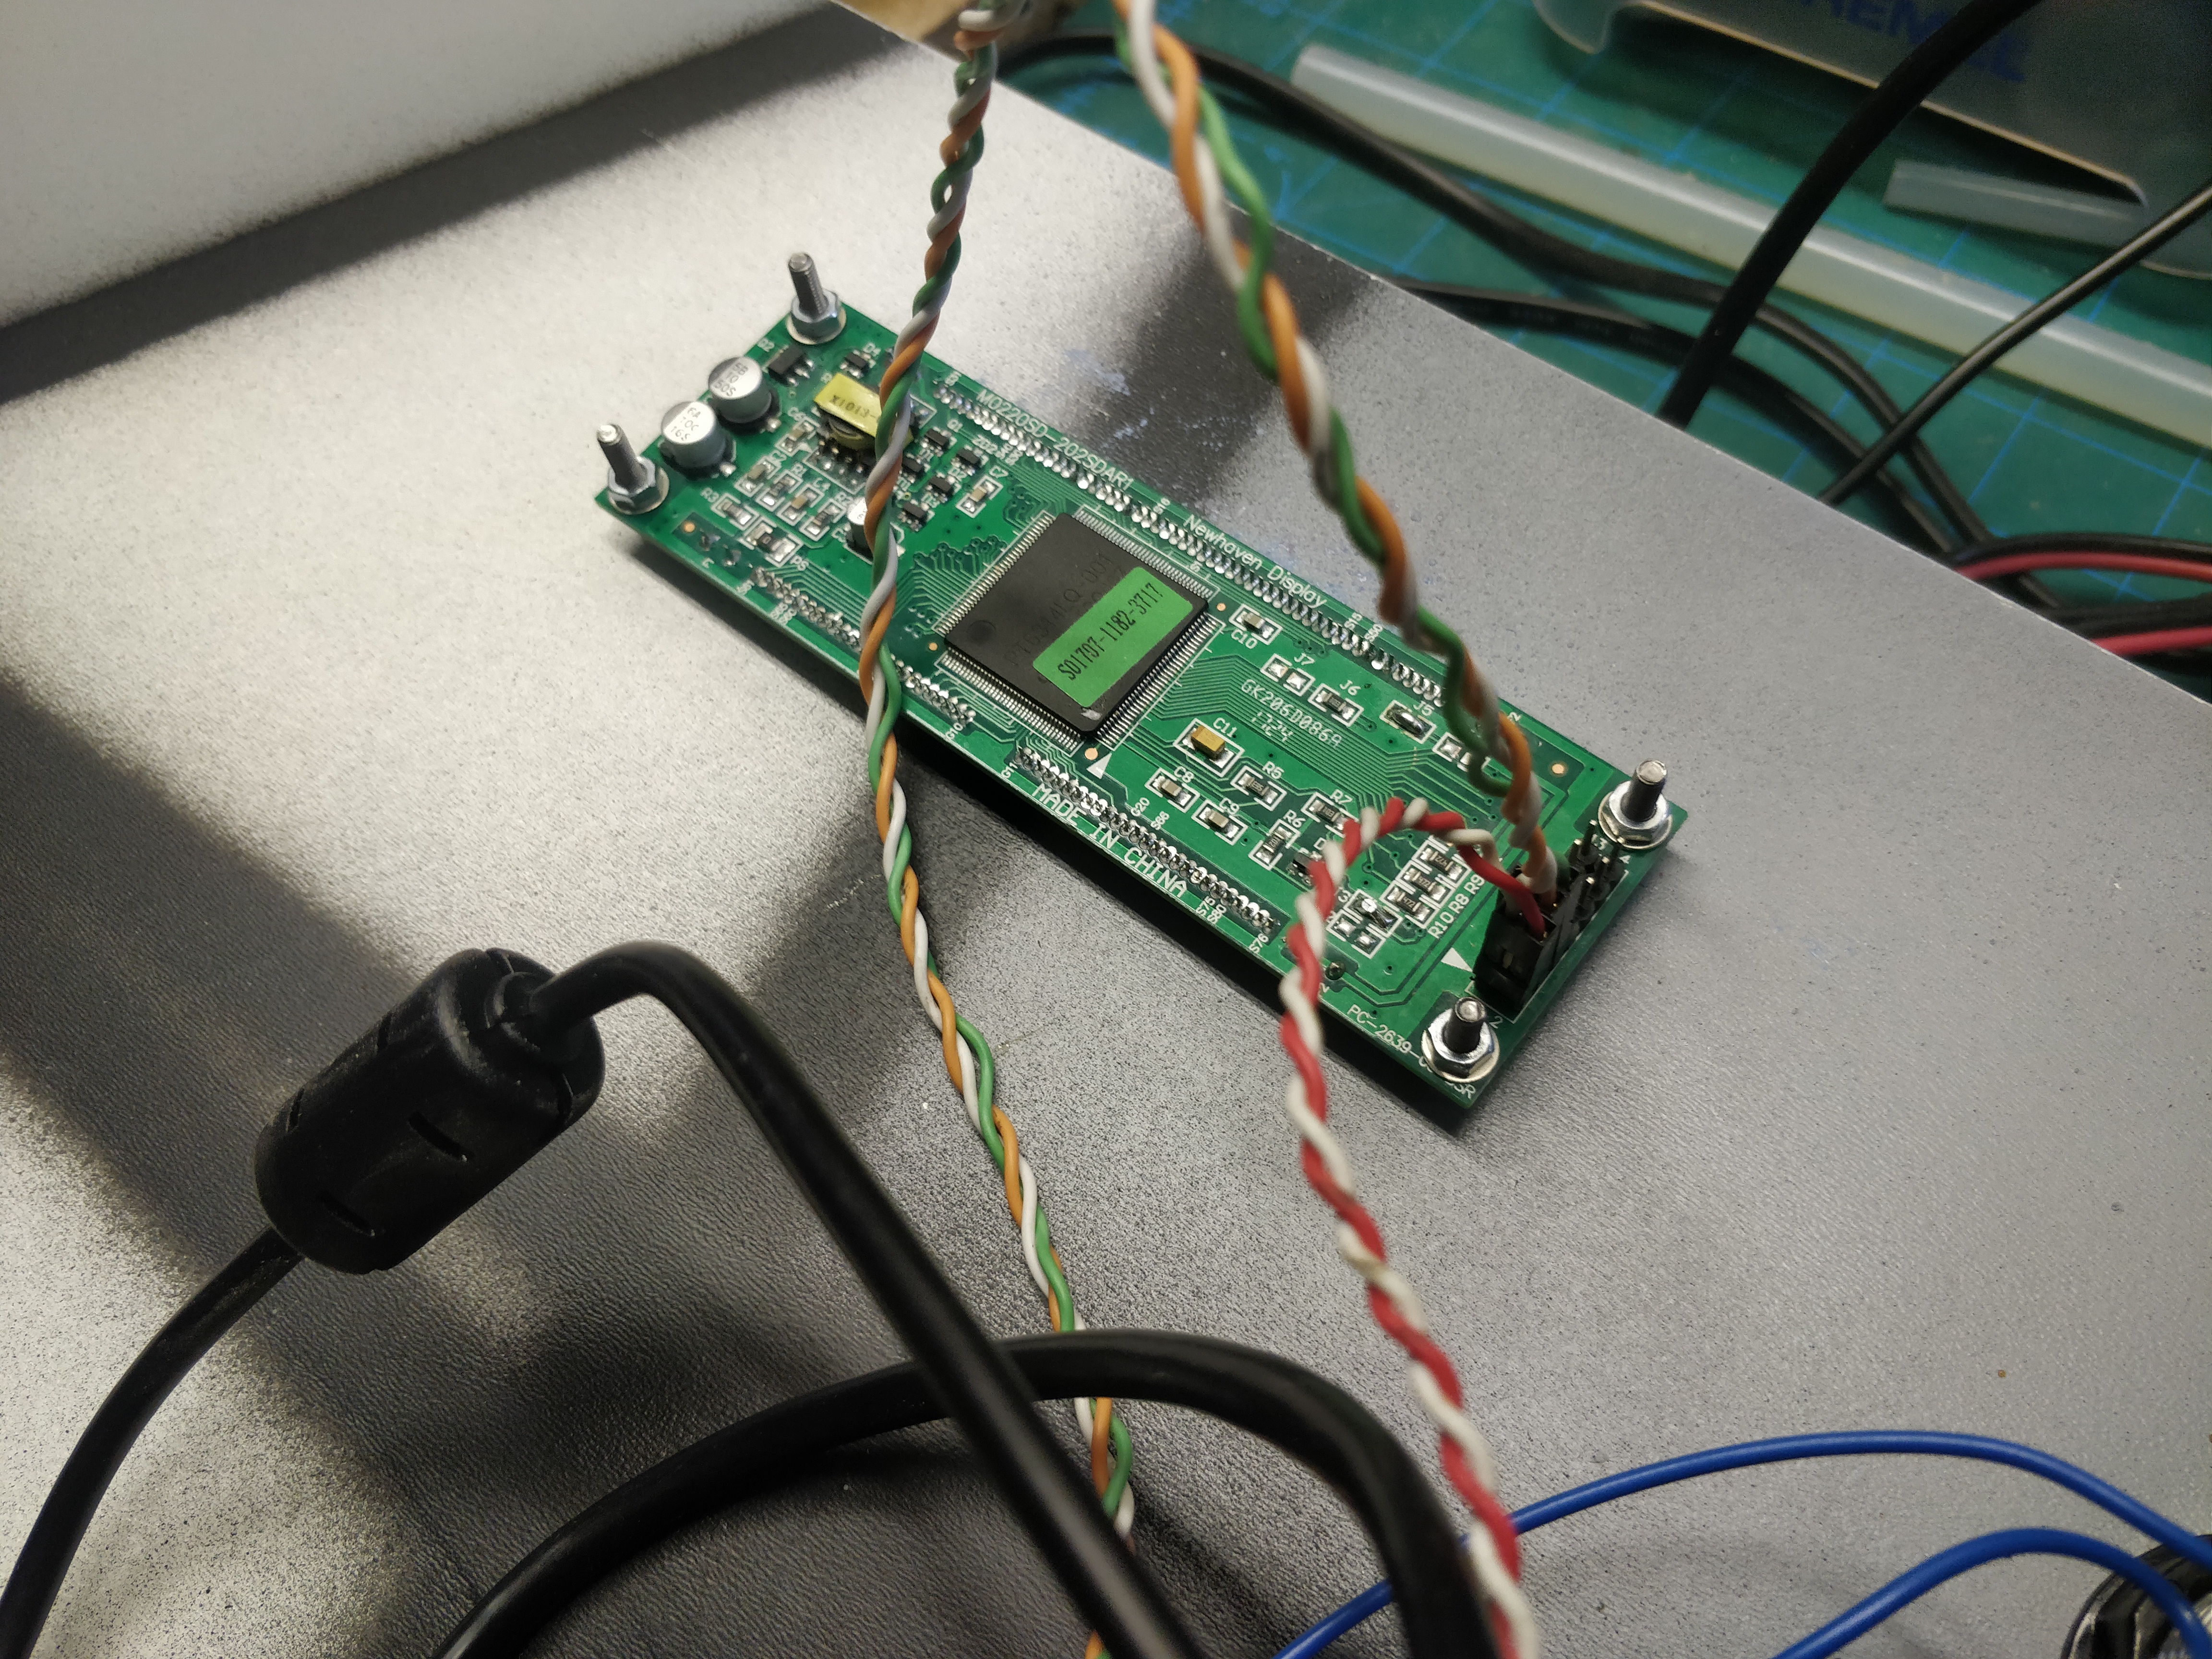
 Wiring VFD is a lot simpler if you go for serial mode
